Navigate my site!
My site is supported by your $3 annual donation.
| This page describes the stitch and style details for my turtleneck. Visit the sweater pattern generator page to calculate shaping directions for a turtle neck in your size using your yarn. If you don't "get" the idea of pattern generator, visit one of the easy pattern generators: Hat , Socks, Head band. | |
 Boy
is this winter cold! Boy
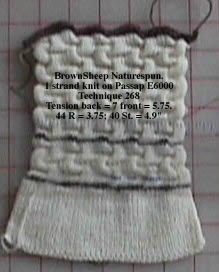
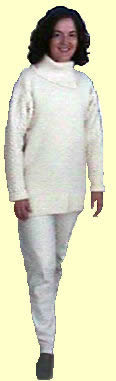
is this winter cold!Gas prices have sky rocketed. I'm at home all day knitting, improving my programs and learning new computer languages. It's pretty fun. But I was getting awfully cold typing at the key board. So, I decided to knit a warm, cuddly turtleneck. I finished a four days after the ground hog predicted 6 more weeks of winter! I guess it's ok. I'm cozy warm now. This sweater uses about a pound and a half of Brown Sheep Naturespun fingering weight yarn. I picked a stockinet stitch for the body; the cuffs, bottom welt and the split turtleneck are knit in 2 x 2 rib. I don't know if you can tell from the photo, but sleeves are a faux cable that can be made automatically on the Passap. (It's stitch technique 268.) This is a Knitting Fiend pattern, so you can duplicate my sweater in your size. First go to your local yarn store and find Brown Sheep Naturespun in fingering weight. Then run my sweater pattern generator to create your shaping directions. You'll find a toggle for the style shown here on the "style" sheet. But you will need to customize the sweater length after using the "estimate" feature. If you want to duplicate my sweater exactly, you can replicate my style selections, stitch patterns and read my knitting tips. Those are all provided on this page. For complete shaping directions, you must run the sweater generator. The version of the program launched from the turtle neck page has new features. One new feature lets you specify different stitches for the sleeves and body. Lucia |
|